

In this digital world, the feature of the screenshot is so much used in so many ways. Like the copy-paste era, now it can be called a screenshot era is going on. Since people use this option especially in smartphones to keep the screens consisting of interesting texts or images for further use in the future. Whatever you are doing right now which is visible in the display of your phone can be captured through the screenshot. Many like this screenshot option in their day-to-day work even in the PC. But some of us don’t know what is a convenient way to take a screenshot on the PC. You can check how to take a screenshot on the computer below –
Snip & Sketch (for Windows 10)
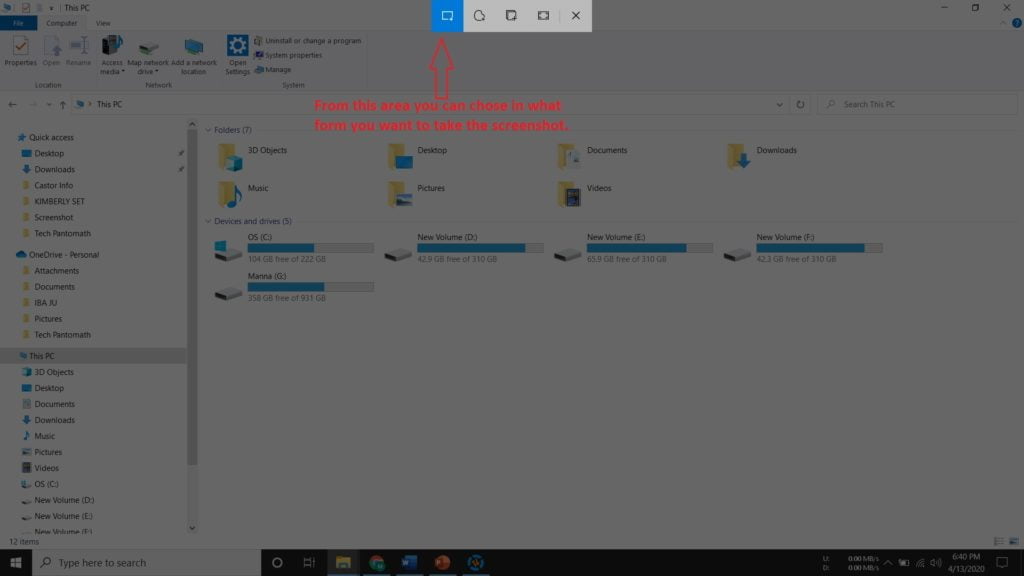
It is my personal favorite option to take a screenshot on the computer. Whatever you are doing just press these 3 buttons at a time. You will get the options to select your screenshot as per your wish. You can select the area on how much you would like to take a screenshot from the display as below. This feature of windows is called the “Snip & Sketch”.
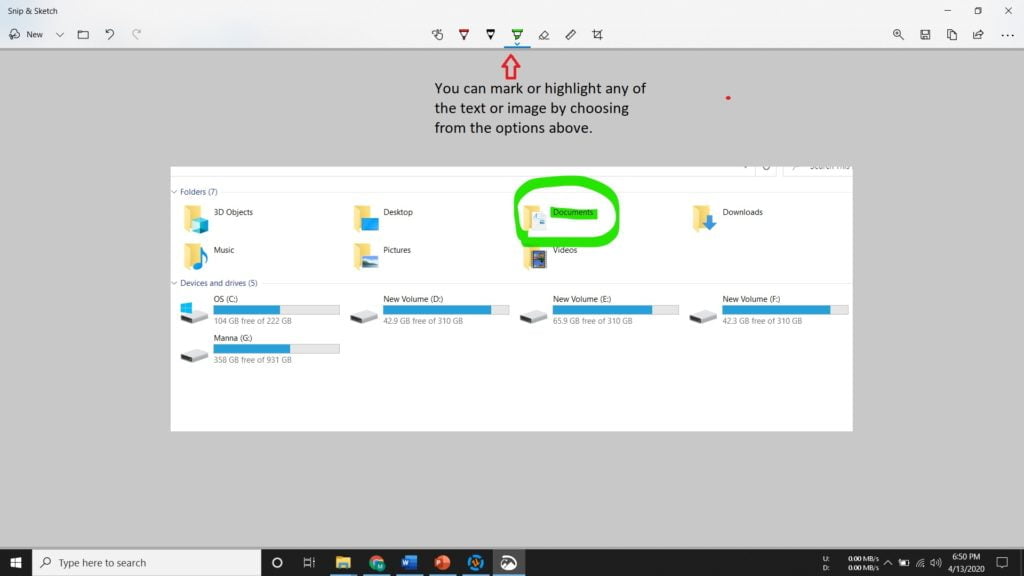
You can straight access this option by just pressing the windows+shift+s key together. Then you can do some basic editing like the below. As the screenshot is copied in the clipboard already, you can just press control+V to paste the screenshot to any suitable platform like the paint, word, PowerPoint, or any other platform where you can paste pictures directly. Then, you can edit as per your wish.
Screenshots Using the Print Screen Button From the Keyboard
There is a button in your keyboard to make your screenshot functions accessible in quite a few ways. Most probably it is in the side of the upper right corner of your keyboard by the name “prt sc” or “print|screen” depending on the keyboard design and the manufacturer. Now we will discuss 3 functions of this button to take screenshots for different purposes. A different format of the Print Screen button found is added below for your easy understanding.


Press Windows + Print Screen
If the purpose of your screenshot is to take a very quick snap of the whole screen just for the future record only, then you can press windows + print screen together. This will save the screenshot of your full display in the .png format and save it to the below directory.
C:\Users\(your username)\Pictures\Screenshots
Press Only Print Screen
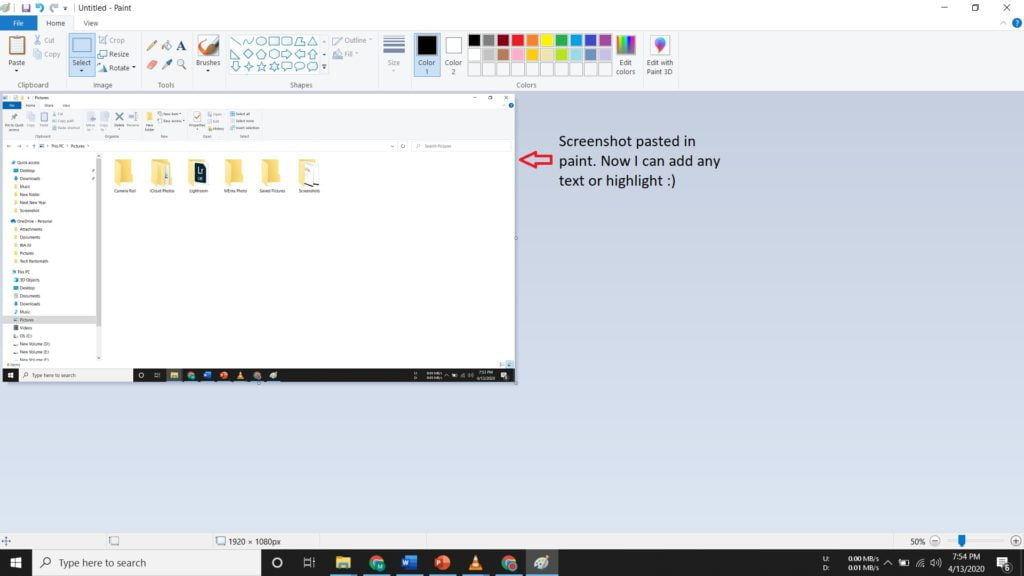
This is another option to take a screenshot on the computer by just pressing the print screen button. Wherever you are or whatever you are doing on your PC you just need to press the Print Screen button. Your whole display will be copied to the clipboard. This means the screen is copied but not saved anywhere. You have to paste the image to a suitable platform like the paint, word, PowerPoint or any other platform where you can paste pictures directly. Then you can save the screenshot to your desired form.
Press Windows + Alt + Prt Scn (Windows 10 only)
This process is similar to the windows+ print screen method. The only difference is that the screenshot saved in a different location since the screenshot is taken by another app built-in with the windows 10. For recording the games windows 10 included one feature called Game Bar. You can take a screenshot on the computer also by pressing the 3 buttons together. Your screenshot will be saved in the below directory.
C:\Users\(your username)\Videos\Captures
Snipping Tool Is The Older And Most Popular Screenshot Partner For Many
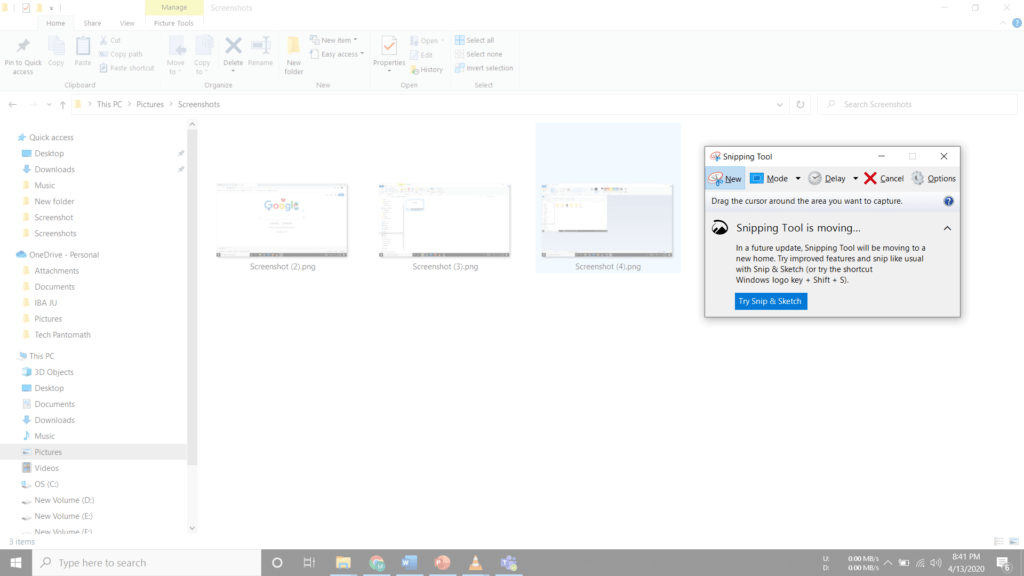
The snipping tool is included first in the windows vista and since then it is going on almost same with very little change and mostly slight bug fixing. So, time is closing up for the snipping tool and it will be moved soon. As you can see in the below image, Windows is promoting snip and sketch even in the snipping tool window. But still many preferred this tool since it was always part of windows and very flexible to use and edit for a smaller part of the display. You just need to find the tool from the Start menu by searching “snipping tool”. Open it and then select the area you want to snip.
There are many more ways you can take a screenshot on the computer. There are some third-party apps like Snagit where you will get some extra features and a bit more flexibility. But to get all the features you might have to spend a few dollars for the subscription.


GIPHY App Key not set. Please check settings